4 Fun Science Activities to try with a Slinky Spring

Aside from being huge amounts of fun, the slinky spring is a brilliant and versatile tool for demonstrating important themes in the CAPS curriculum. These themes include matter and materials, waves, sound and light and energy and change. Each of the 4 activities demonstrates a different theme. Some themes are repeated but with increasing complexity for older learners. Using the simple and inexpensive slinky spring, educators can bring science to life with realistic laser sounds, visible waves and even a slinky walking downstairs.
Activity 1: Create laser sounds
Grade 4 | CAPS Themes: Energy and Change, Energy and Sound: Sound through Solids – Metal
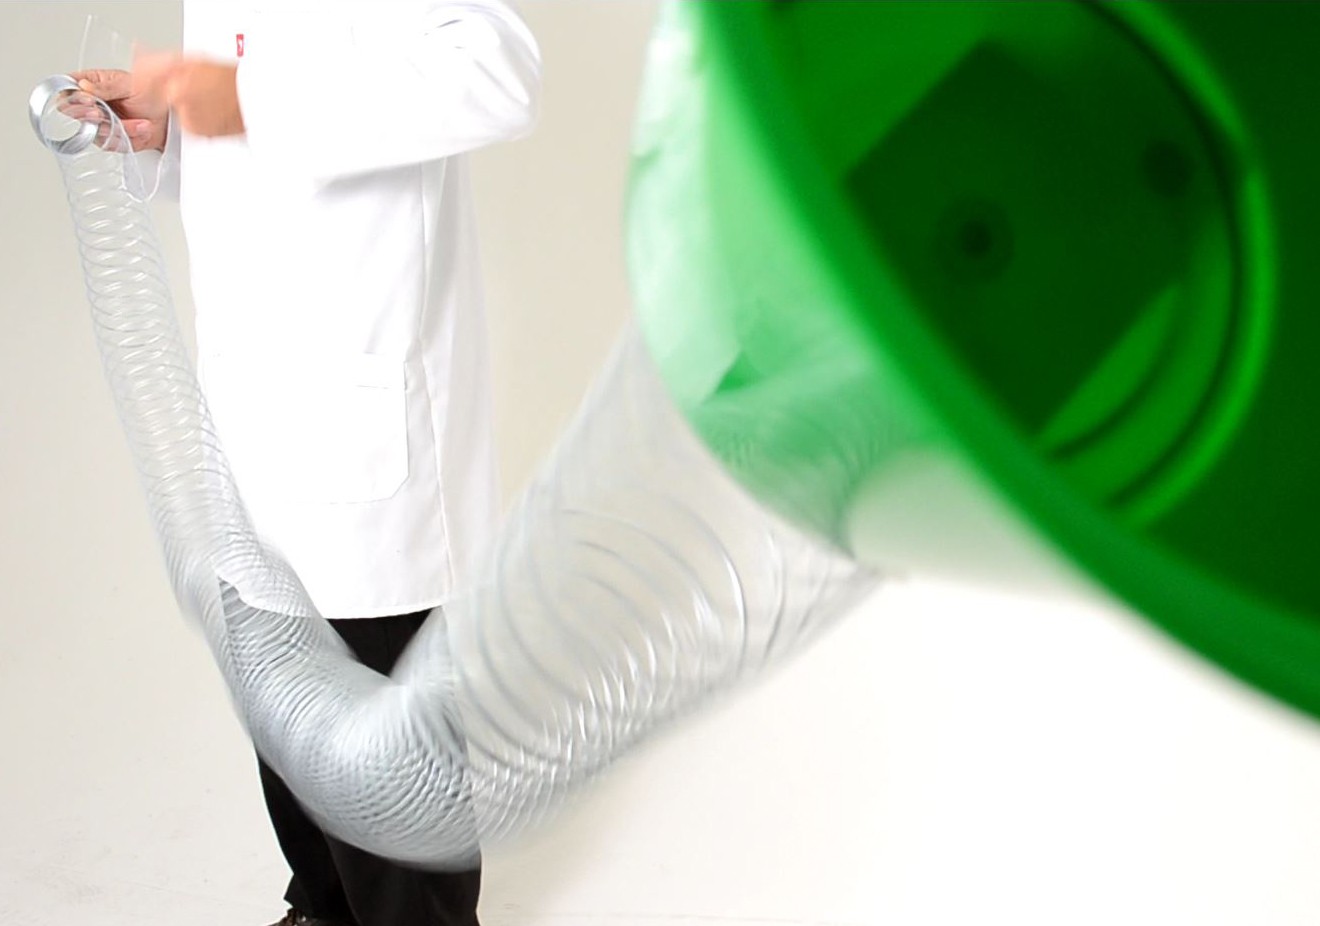
Attach one end of the slinky spring to an open container with a sticker. Now extend the spring, letting it hang a bit. Take care not to over stretch or twist it as it might not return to its original shape. Tap the slinky with a hard object. You’ll hear a brilliant amplified laser sound. You can also observe a visible wave moving up and down the spring after you tap it.
Activity 2: Walk Slinky Downstairs
Grade 5 | CAPS Themes: Energy and Change, Energy and Movement: Elastics and Springs
For this activity you will need a slinky that is not twisted or damaged. Place the stacked spring on the top step. Now push the top of the slinky over so that it unravels down onto the step below. If done just right with the right size stairs, the slinky will ‘walk’ all the way down the flight of steps.
This is great activity to teach momentum and potential energy. Another way to demonstrate potential energy is to simply lay the spring on a hard surface and stretch it out. The spring is held in tension to show potential energy. If the spring is released, then learners will see how potential energy can be converted into movement energy.
Activity 3: Create a Rheostat
Grade 6 | CAPS Themes: Energy and Change, Electrical Conductors and Insulators
Slightly stretch the spring so that there are small gaps between the rungs. Place in series in a circuit with a crocodile clip attached to one end and the other crocodile clip free to move up or down the spring. Now set it up with 3V circuit and a bulb in series. What happens if the free crocodile clip is moved closer to the connected end or further away? Try again with a motor. You will notice that you can easily increase or reduce resistance in the circuit. You’ve just used the slinky spring to create a simple rheostat. Remember not to try this with higher voltages or for extended periods of time as the steel could get very hot.
Activity 4: Make some waves
Grade 8 | CAPS Themes: Matter and Materials, Visible Light, Spectrum of Visible Light
Grade 10, 11, 12 |CAPS Themes: Waves, Sound and Light
To understand waves, sound, light, electronics and properties of materials, learners must first grasp the concept of longitudinal and transverse waves.
To demonstrate transverse waves, lay the slinky out on a hard floor and extend it. Now quickly move it from side to side to create a wave. Frequency, amplitude and period can clearly be illustrated. If you move it quicker you have a higher frequency. If you make larger movements then greater amplitude is visible. Period (time) is also visible as the ‘crests’ of the waves and is equal to the length between these crests.
To create a pulse, start in the middle and move the slinky to one side only, then back to the middle. Illustrate reflection by attaching one end to a fixed point. The wave will reflect back when it hits the fixed point. Note with a pulse that it reflects back on the opposite side. If two pulses are sent from opposite ends when they meet in the middle, they will amplify but if opposite when they meet in the middle they will be cancelled out at that point.
For longitudinal waves, make a quick movement of the end down the length of the slinky to compress the spring. Again observe the waves and effects. Try changing period, frequency and amplitude.
It's exciting to see what's possible with a simple and cost-effective slinky spring. We've given you four ideas but the options are endless. Please post your contributions and ideas in the comment box below - we'd love to hear from you. If you'd like to purchase slinky springs for you classroom or home school head over to our online store and purchase here.


Comments